
How to turn a displacement map (heightmap) into SOLIDWORKS geometry
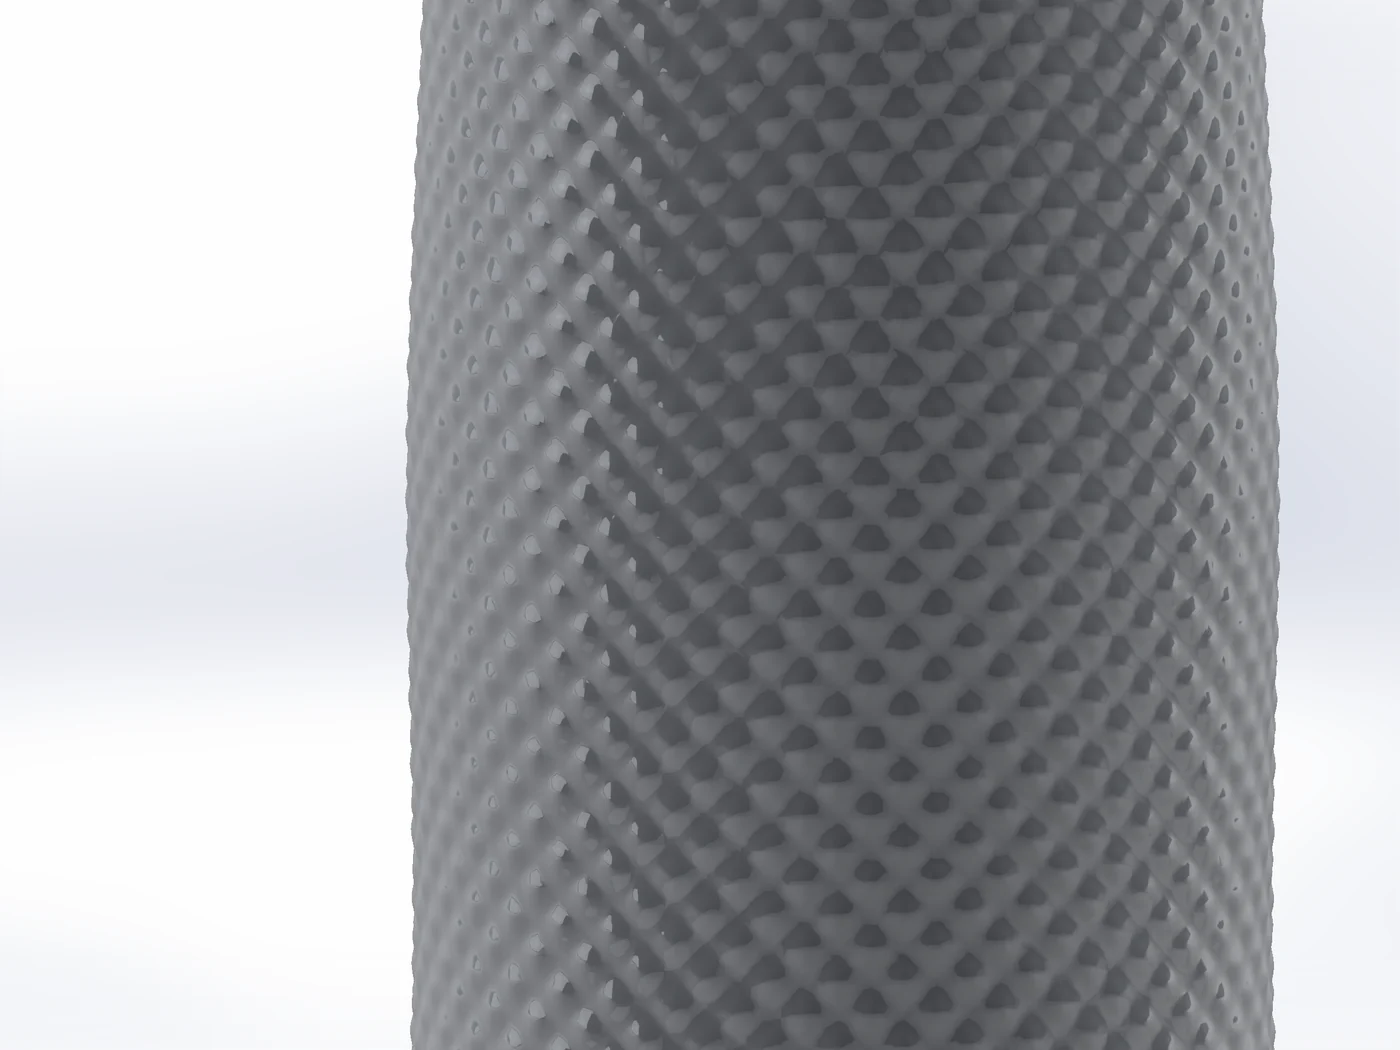
Displacement in Blender or Rhino gives a mesh that cannot become a clean STEP, and SOLIDWORKS 3D Texture gives a mesh body too. Surface Displace reads a grayscale image and displaces the selected faces as B-spline surfaces inside SOLIDWORKS, so the result is a normal solid that exports to STEP.
Step by step
- 01Select the faces, then
Advanced Surface Toolstab › Surface Displace, Source Image, and load a grayscale PNG or JPG (black = 0, white = full depth; or a zero level for raised and sunken areas). - 02Set Amplitude (depth), image size, tiling and position in the canvas, or Fit image.
- 03Pick the Mapping (UV, Flatten, Projection, Cylindrical) that lays the faces out the way the image was made.
- 04Output Solid, OK, then File › Save As › STEP if you need it.
Painting a map that fits exactly
Export paint map… writes the faces laid flat with their frame (and a guide layer). Paint on it and load it: the image is placed exactly where you painted, at any resolution with the same aspect.
Limits
- Detail is limited to about 250 × 250 control points per face; the image is read at up to 1024 px and slightly smoothed.
- A face that closes on itself (a full cylinder) works with Cylindrical mapping.
Try it on your own part
Advanced Surface Tools is a SOLIDWORKS add-in (2023 or newer). Every tool works free for 14 days; a licence is €99 plus VAT, one-time.
Docs: Surface Displace
Questions
Not as a height image. You can export the faces laid flat (paint map) to paint a heightmap that fits them.